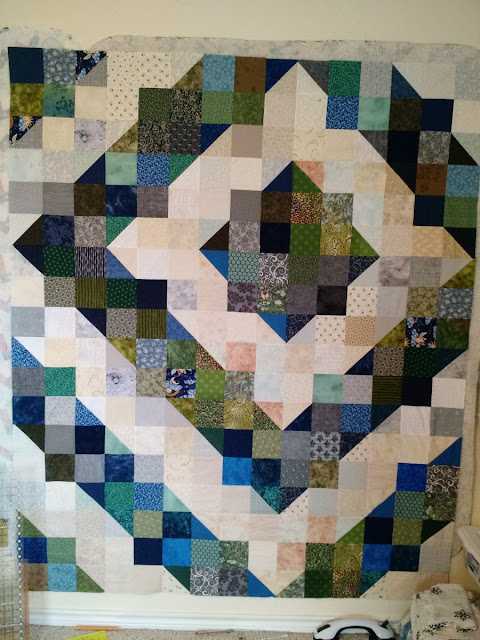
Another month, and a new block! Every month I host a block drive here to benefit
Covered in Love. CiL provides comfort quilts to the families of patients who pass away in the hospital where I work. We are always accepting donations of tops and quilts, of course, but the monthly block drives are a quick and easy way to contribute. Together we have made some beautiful quilts!
 |
| Some of last year's CiL quilts |
This month's blocks is bold and bright, inspired by the gorgeous spring weather outside! It is slightly more complicated that the past few months' blocks have been, but not too bad. I'm calling it a string lattice block, based on a design I saw online somewhere.
First sort out some string scraps in pink/orange/yellow colors based on the palette below.
Your strings can be any width and need to be at least 8.5" long. Sew them together into a column at least 11" tall. (If you're making several blocks at once you can sew your column taller and then subcut 11" blocks from it).
 |
| My column is laying sideways... |
These blocks will end up at 8.5"x11", or the size of a page of printer paper, so it may be handy to use a piece of paper to make sure your column is tall and wide enough.
 |
| Big enough, but just barely. |
Trim your column of strings to 8.5"x11".
NOTE: To make a lattice design I actually need 2 kinds of blocks and the difference is in the next step. The steps are the same, but either you trim the top left & bottom right corners of the block or you trim the top right & bottom left corners. These two blocks are mirror images of each other and I need a roughly equal amount of each. Just something to keep in mind as you are making blocks. Don't stress about it. When I get all the blocks in I will make some extras of whichever I am missing.
 |
| In this example I cut off the top left and bottom right corners |
On the top left/right corner of your column, measure in 4" and down 5 & 1/8". Make a pencil mark at both points, then line your ruler up with the marks and make a diagonal cut to remove the corner.
 |
| Here I am about to make the cut on a mirrored block. You can just see my pencil marks where the ruler crosses. |
Flip the block completely over and repeat.
Cut a rectangle of light neutral fabric, like unbleached muslin or a cream, to 4 & 5/8" x 5 & 7/8". Cut diagonally corner to corner (NOTE: the angle of this line needs to match the angle of the corners you cut off your big block.)
 |
| This block is the mirror image to the one shown in most of the other pics. Notice how the light block is cut on the same diagonal as the big block. |
Sew the light colored corners onto the larger block...
...and press. Go ahead and sew your little string corners together if you want and send them along, I will use them for something!
Here are my two mirrored blocks. Sorry for the weird colors, it was getting dark, but you get the idea.
I hope the tutorial is clear enough, don't hesitate to comment or email if you have questions.
(Edited to Add: View some finished quilts here)
This block drive runs for a month; try to get your blocks in the mail by the 30th. Make one block or a bunch, every blocks helps! Comment (make sure I can see your email address) or email me for the address to send blocks. And thank you so much to everyone who continues to support Covered in Love!


