(Edited to add: See the finished quilts here)
Seems like I mostly only make Finish posts these days, but I have something different for once! Every January I get the bug to clean out my scraps, organize them and make something. My strings (long narrow strips) I cut down to either 2.5" or 1.5" wide. You can look back at previous projects at this link (this post will appear on top; scroll down past it.) This design was inspired by a top that Christine from FL sent in. The way I made it produces 2 blocks, which can yield 2 different quilts.
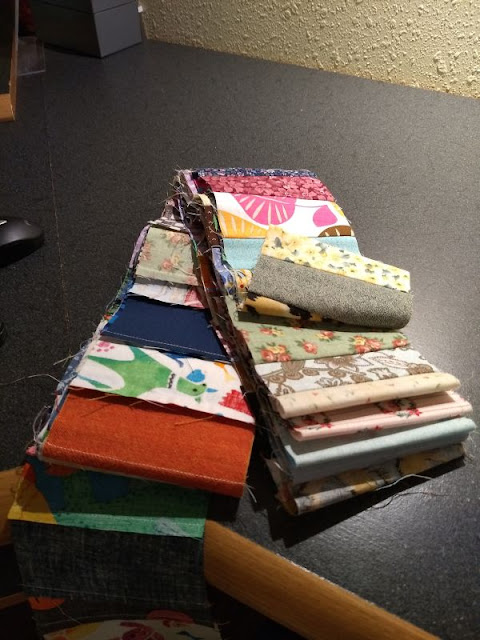
I started off this this loooooong strip of scraps 4" wide.
And sewed white/low volume 1.5" strips to both sides.
As I added strips to the sides I carefully alternated directions to avoid warping and ironed after each addition.
Next I started adding 2.5" strips to the sides.
I decided to add (3) 2.5" strips to each side because that made the final panel have a total width of 18".
My target width was 18" because that was just enough to cut 12.5" blocks on point.
The 12.5" blocks with the "railroad tracks" down the middle are the primary block and will make the design you see at the top of the page. I had enough to make a 48"x60" top, which I'll add borders to. You do have to be very careful because these are nothing but 200% bias edges. You have to be very careful and mindful of that when handling and sewing them.
The secondary blocks are triangular and you get 2 per primary block. These can be put together in 2 ways, either 2 of them back to back or 4 of them point to point.
The design below is made from the first option, combining 2 triangles into one block. You can see it's basically the inverse of the primary block, with the big strips down the middle instead of the narrow ones.
This (below) is the design you get from combining 4 triangles into one block. It make the same design but the strips appear horizontal and vertical instead of diagonal. The other big advantage of this one is that it sews up the bias edges inside the block.
I decided to go for the second option and had enough to make a top 54" square with a block leftover. I'll be adding more borders to it as well.
If you make anything with this tutorial please send me a picture! Obviously I'm not the first person to come up with this idea, I googled and found this blogger who did the same thing making one block at a time instead of a big panel. I did come up with this technique on my own though, and I hope some of you will enjoy it and find it helpful!


Thanks for the tutorial, Kat! I like your streamlined approach. Looks like a quick way to make TWO donation quilts at a time!
ReplyDeleteGreat way to make these blocks - thanks for the tips :)
ReplyDeleteI have not seen that before. Thanks for sharing and taking the time to make the tutorial. That's a pretty quick way to get two for one pretty quick!
ReplyDeleteOoooh, I REALLY like this method! Fantastic way to make interesting string blocks without any foundations. Woo hoo! You are such a smartie :)
ReplyDeleteHow long do you make the strip set so you can cut the 2 big blocks out? I love that is doesn't use foundation paper or fabric. The bonus quilt is a real charmer also.
ReplyDeleteThis is a clever technique! I like the idea of creating two different quilts out of the fabric panel.
ReplyDeleteWhat can be better than a string block with no foundation? Woo-Hoo! Thanks for the great tutorial. The bias edges will be a challenge but should be doable as long as we constantly remind ourselves of those bias edges. You rock!!!
ReplyDelete