Showing posts with label strings. Show all posts

Thursday, July 9, 2020

Stringing Along

Happy Friday folks, we made it another week deeper into the summer! It's officially hot and humid outside, not good weather for anybody. 


Some of you might remember the tutorial I posted several months ago for a scrap-busting block that used 2.5" and 1.5" strings.  The main block is the one in the quilt below, with the black border, and the bonus blocks made the quilt above with the blue border. 


It's a great way to use up a whole bunch of strings in a hurry and make cozy scrap quilt in the process! These two are bound for the hospital with Covered in Love.

Sundae in her favorite sunny windowsill monitoring the birds and squirrels.

Covered in Love is a 501(c)(3) charity that donates quilts to patients dying in the hospital, over 600 so far! The July/August drive is going on now.  Check out the main post HERE if you want to get involved. 


Linking to  Confessions of a Fabric Addict and Finished or Not Friday

Sunday, February 23, 2020

String Scrap Buster {Tutorial}

(Edited to add: See the finished quilts here)

Seems like I mostly only make Finish posts these days, but I have something different for once!  Every January I get the bug to clean out my scraps, organize them and make something.  My strings (long narrow strips) I cut down to either 2.5" or 1.5" wide.  You can look back at previous projects at this link (this post will appear on top; scroll down past it.)  This design was inspired by a top that Christine from FL sent in.  The way I made it produces 2 blocks, which can yield 2 different quilts.


I started off this this loooooong strip of scraps 4" wide.


And sewed white/low volume 1.5" strips to both sides.


As I added strips to the sides I carefully alternated directions to avoid warping and ironed after each addition.


Next I started adding 2.5" strips to the sides.


I decided to add (3) 2.5" strips to each side because that made the final panel have a total width of 18".


My target width was 18" because that was just enough to cut 12.5" blocks on point.


The 12.5" blocks with the "railroad tracks" down the middle are the primary block and will make the design you see at the top of the page.  I had enough to make a 48"x60" top, which I'll add borders to.  You do have to be very careful because these are nothing but 200% bias edges.  You have to be very careful and mindful of that when handling and sewing them.


The secondary blocks are triangular and you get 2 per primary block.  These can be put together in 2 ways, either 2 of them back to back or 4 of them point to point. 


The design below is made from the first option, combining 2 triangles into one block.  You can see it's basically the inverse of the primary block, with the big strips down the middle instead of the narrow ones.


This (below) is the design you get from combining 4 triangles into one block. It make the same design but the strips appear horizontal and vertical instead of diagonal. The other big advantage of this one is that it sews up the bias edges inside the block.


I decided to go for the second option and had enough to make a top 54" square with a block leftover. I'll be adding more borders to it as well.


If you make anything with this tutorial please send me a picture! Obviously I'm not the first person to come up with this idea, I googled and found this blogger who did the same thing making one block at a time instead of a big panel.  I did come up with this technique on my own though, and I hope some of you will enjoy it and find it helpful!

Thursday, August 9, 2018

Tiny Strings, Big Quilts


Happy weekend! I finished two scrappy quilts for Covered in Love this week.  These were pieced by me back in late April during a fit of scrappy productivity using 1.5" string scraps.

I made a tutorial for these blocks and it has become pretty popular on Pinterest.  I wish I knew if any one has actually made their own version!


Basically I sewed together skinny strings to make panels of warm, cool, and neutral fabric, then made HSTs from them.


I had a whole lot more blue/cool colored strings than neutral or warm, so I made one cool/neutral quilt and one hot/cold.


They each measure 60" square and I stippled them densely. I hope the finished quilts live up to the promise of the tops!


Thanks for visiting! I hope you have a great weekend.


Covered in Love donates quilts to patients dying in the hospital, over 300 so far! Our block drives are back on track and July/August is the annual "Oh My Stars!" drive.  Check out the main post HERE if you want to get involved.


Linking to  Confessions of a Fabric Addict and Finished or Not Friday

Friday, January 5, 2018

Ringing in 2018

Happy New Year! I got the new year organizing bug and decided to take control of my overflowing strings box.


All the strings in this box are less than 2.5" wide.  I have been trimming any strings larger than that into scrappy binding strips for a couple of years now, and I pretty much stay caught up with that.   It took me a long time to decide to buy an AccuQuilt Go, but I have to say it is completely worth it for this sort of thing.


All the strips have been pressed and cut to 1.5" widths.  The first thing I'm going to sew with these is more of the string herringbone blocks you can see here.


Inspector Rey confirmed the box was empty.  My next New Year project was the Rainbow Scrap Challenge.  Every December I look jealously at the beautiful rainbow quilts being finished, so I finally decided to take the plunge.


I'm sewing Buckeye Beauty blocks, 6 per month at 8" each, on a grey background.  Inspired (well, copied) from this beauty at Treadlestitches.  We'll see how it goes... I have a problem with these kind of slow quilt alongs, the same problem I have with leader-enders. I'm bad at waiting.  At some point, usually before very long, I get excited and just make the rest of the blocks and finish!

Linking to Oh Scrap!

Thursday, October 22, 2015

Scrap Happy QAYG Strings

Happy Friday! I have one of my pet scrappy projects to show today. You know I love a good scrap quilt.


I made this quilt from string scraps using a quilt as you go method, piecing the strings onto strips of batting. When I do QAYG I press the seams flat and top stitch them down to keep the bulk down (pictures of that here.)


Finished size was about 55" x 72".  I found a cute backing with the right colors on sale at the LQS and bound it with a scrappy binding.  With the strings QAYG to the batting the backing just needed a couple of horizontal lines to hold it in place.


This quilt is being donated to the hospital for Covered in Love.  If you want to help out with Covered in Love it's not too late to contribute to this month's block drive, which incidentally also involves strings!


Linking to Crazy Mom Quilts Finish it Friday.

Thursday, May 7, 2015

String Quilt No. 4, Hexie Pinwheels

My string quilt craze started back in about October. I know this will not be my last string quilt by a long shot, but I can now finally say that 4 quilts later I have curtailed my overflowing strings bin. String quilt No. 1 was a very traditional blue and brown one, string quilt No. 2 was a more modern, bright, braid design, string quilt No. 3 was a super modern black/white/red quilt. And now we have string quilt No. 4, made from the leftovers of No. 2, arranged in a different design.


My tutorial for these 60 degree string triangles can be found here. Turned another way theses could have been a spider web quilt, but I opted for a pinwheel instead. I really love the mellow yellow solid I found to set off the bright strings.


I had a little fun with the FMQ. Spirals in the yellow triangles, stipple in the hexes, and waves in the borders. The dense quilting makes for lovely krinkle and a soft look.  Binding is scrappy, which was only fitting.


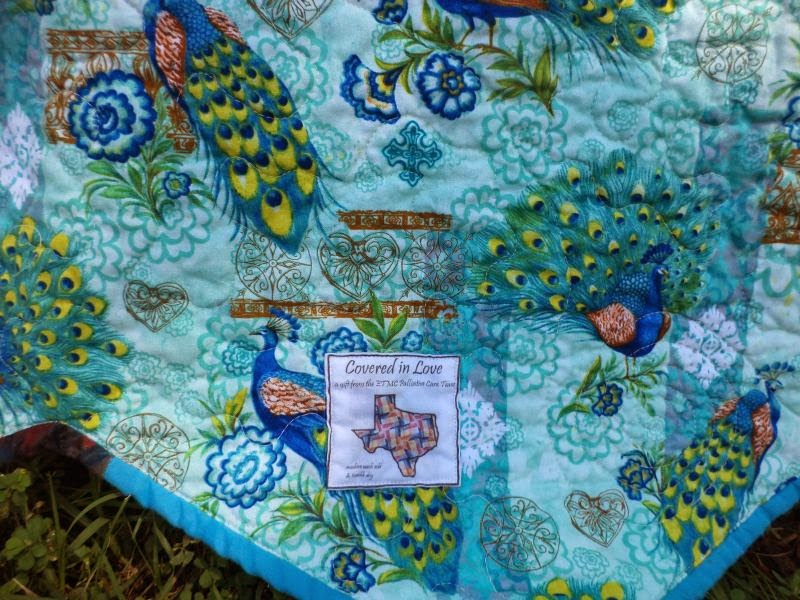
The backing is mostly this pretty, rich peacock fabrics, and yes, this is another quilt for Covered in Love.  Thanks for visting!!


Linking to Crazy Mom Quilts Finish it Friday and Oh Scrap at Quilting is more fun than housework.

Sunday, April 12, 2015

Scrappy Stringy Triangles (Take 2)

Happy weekend! I am celebrating by pulling out the rest of my scrappy string triangles and playing on the design wall.  If you remember the String Braid quilt  made around the new year, these are the rest of the triangles that didn't go into that quilt.


I have a few design options here. The traditional spider web as above.


...or the pinwheel hexies shown here.  I think I like the second one better, please let me know what you think!  I might also try Bonnie's serpentine layout seen here


To sun is shining, the cat-flowers are blooming, and it's a good day to play! Hope you have a great week :)

Linking to Oh Scrap! and Design Wall Monday.


Thursday, February 19, 2015

Rainbow Mix Tape {January do. Good Stitches}

This Friday's Finish is the January quilt for my do. Good Stitches group, the NURTURE circle.  It was my month to be quilter again and I chose a foundation pieced QAYG design.


The choice for this month's block was natural since I have been on a string quilt kick lately and the best way to make string quilts is with foundation piecing; as long as we were going to foundation piece anyway it might as well be onto batting.  The fact the this drastically reduced the amount of work I as the quilter had to do was beside the point ;)


Everyone sent in their two string blocks pieced onto various types of batting by Feb. 9th and I got the quilt top assembled that very night! I tried several different arrangements but this rainbow one was my favorite by far.


I pressed the block seams open (lesson learned- not all battings are hot-iron safe.) Then applied the backing and quilted along the open seams with the triple zig zag stitch on my machine. This held the layers together and tamed the bulky seams that are the nemesis of QAYG.


Because of the foundation piecing the only quilting visible on the back is the grid of zig zag quilting that holds the layers together.


Our circle makes quilts for My Very Own Blanket, a charity that provides quilts for children in foster care. One of our members was recently able to visit them and as a result of what she learned we are trying this year to make more boy-friendly quilts and to include matching pillowcases with our larger size quilts.


Our members did a great job of picking super cute, boyish fabrics in the strings they used, like these whales and teepees.


Since I used a sheet for backing I actually had a store-bought pillowcase that matched it. I thought it was a little too plain, so I cut off the end of the sleeve and made a custom one instead. (My pillowcase tutorial is here.)


The quilt finished at 48" x 60" and will be shipped inside its pillowcase to the MVOB workshop.  Huge thank you to the ladies of the Nurture circle, who are always good sports and get their blocks sewn up in record time. Thank You!


If you are interested in making a similar quilt my original tutorial can be found here.

Linking to Friday Finishes at Crazy Mom Quilts.

Thursday, February 12, 2015

String Quilt No. 3, Modern Lines

My string scrap busting continues with the latest in a line of string quilts.  I'm calling this one "Modern Lines." (See string quilts No. 1 and No. 2 at these links.)  For this one I wanted to make another quilts with the same traditional-type blocks as String Quilt No. 1, but a more modern setting.


I foundation pieced these 10.5" blocks on tops of newspaper. It seems like newspaper would turn both my fingers and the fabric black, but in fact I had no such problem. Best of all it tore away easily, making removing the paper not the chore it usually is.


This pretty much wiped out my black and red scraps but I still have some white and neutral left for the next quilt.


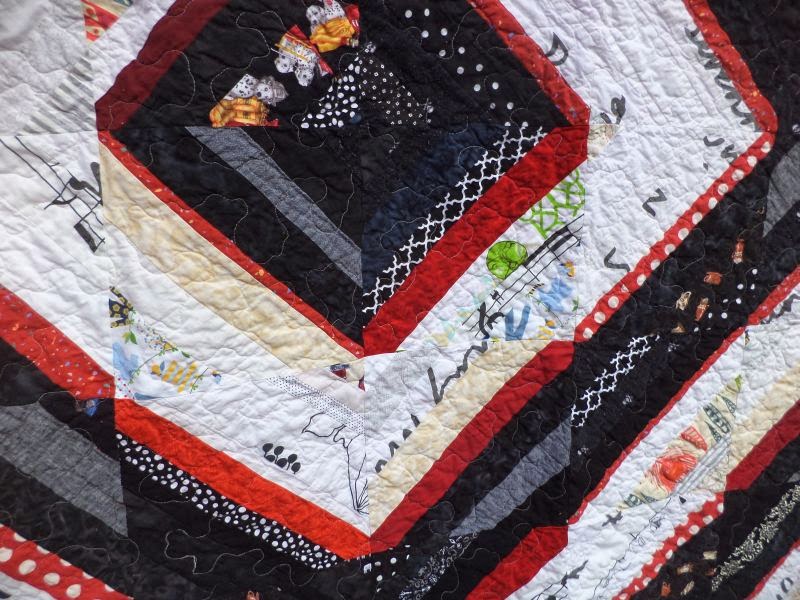
I really like the way the red strings are pointed on the ends. That was one aspect of the design I didn't see coming when I drew it out originally. I'm calling it a design feature, not a bug ;)  As you can tell, I quickly stippled the whole thing for simplicity sake.


The quilt has a soft, red, houndstooth flannel backing and finished at 60"x80".  It has been gifted to boyfriend's long-suffering roommate, who puts up with me crashing at his house and making a mess in his kitchen several times a week.


Thanks for visiting, happy Friday! Linking to Crazy Mom Quilts Finish it Friday and Oh Scrap! at Quilting is More Fun Than Housework.