
It's time, finally, for another Covered in Love block drive! Historically these have run for 2-3 months, but since I can't seem to stick to a deadline I'm just going to say that this drive will run until at least the end of September, possibly longer.

We are going to be making larger blocks than usual this time around, based on this quilt that Lori sent in. I'm sure this block has a name, so if you are aware of it please comment. I'm calling it scrappy pinwheels.

The instructions to make the blocks are below. In case you have never participated in one of our block drives before, anyone can make blocks and you can make as few or as many as you like. Send an email to CoveredinLoveTx@gmail.com to get the mailing address to send them in. I will mix them all together and our volunteers will help to make them into quilts that will be given to grieving families in the hospital. (If you would like to volunteer to help assemble blocks and/or quilt please reach out!)

For each scrappy pinwheel block you will need:
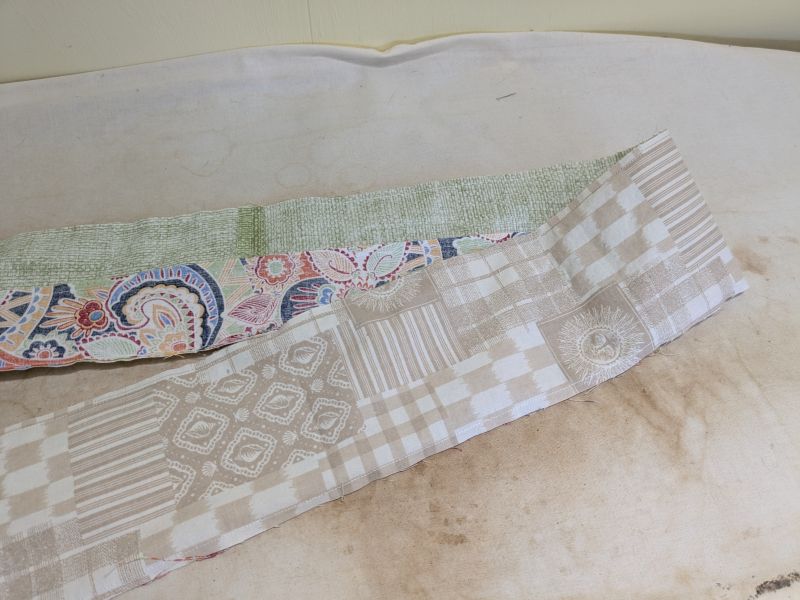
- 4.5" x 41" strip of a low volume fabric (white, off white, light tan, light gray)
- (2) 2.5" x 41" strips of colorful, highly saturated fabrics (please stay away from pinks/purples)
- 6" sq of a colorful, read-as-solid or solid fabric


Continue down the strip set, flipping your ruler back and forth, to cut triangles. You'll need (8) of these folded triangle blocks.

Each block will have just a few stitches at the tip that need to be picked out so you can unfold them. Then press your blocks and square them up to 6" sq.

Arrange all your blocks as shown and sew together. As I said before, it's ok to have several fabrics within the same block to use up your scraps.

Your finished block should measure 17". Please sew a line of stay stitching around it to keep the bias edges from warping. Just increase your stitch length to 3 or 4 and sew about 1/8" from the edge all the way around. I'm looking forward to seeing the blocks you make!
What a great block! These will make fabulous quilts.
ReplyDeleteI like the block. I am going to try it and see what I can do with it.
ReplyDeleteA variation of Friendship Star. How appropriate for CIL blocks. This one will be fun!
ReplyDeleteNot a fan of bias edges, so the stay stitching is a good idea. I will try to make some.
ReplyDelete