|
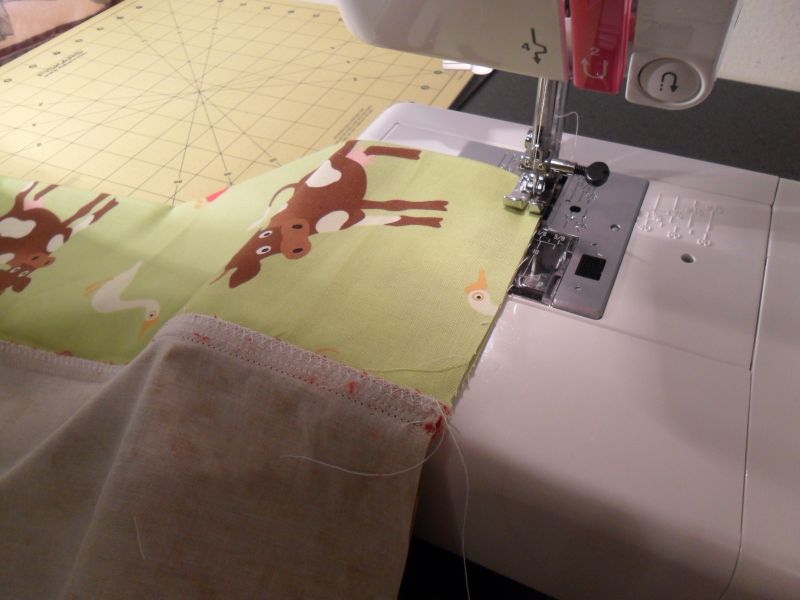
| My latest finish, which YOU could win! |
And then sometimes when you try to explain just why it's some important... it's just too big to find the words.
That's where I'm at today. So instead of words I'm going to use pictures, because they say it better than I could.

Above is Katie and below is Theo. Both of them were adopted from orphanages in Eastern Europe and their cases are NOT unique. Both of their lives were saved by adoption. For thousands of orphans with special needs the reality of every day life is one of abuse, neglect, starvation, and early death. It's not nice to think about it, but once you know the truth, how can you turn away?

Reece's Rainbow is one organization of several that campaigns for the adoption of these children by raising the money needed to cover their adoptions. Right now hundreds of families are in various stages of the process of bringing home children from over seas. You can help save a child's life by donating to a family or child in need.

There's a great big giveaway going on right now to benefit seven adopting families and twelve waiting children. (You can get to it by clicking on the link above). Among the $5,000 worth of prizes up for grabs are two of my quilts, the one in this post and the unnamed (and unfinished) animal quilt. There are also a few other quilts, IPads, Wii games, Kindles, gift cards, and more!
 |
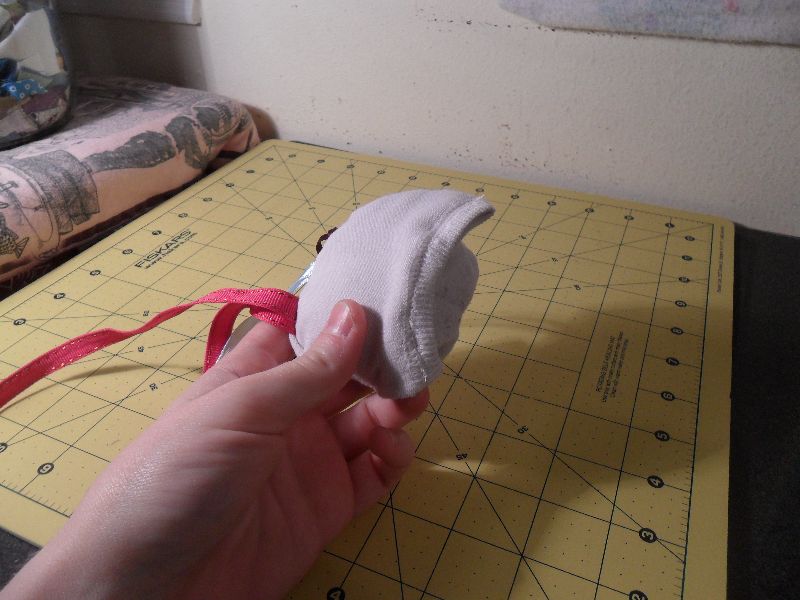
| My latest finish, which YOU could win |
Please, please, please, go check out the giveaway going on to benefit these kids and GIVE. Not just because you want to win something cool, but because you want to make a difference; save a life. You may not think your donation is much, but every little bit helps. Together we can bring these kids HOME.
Click HERE. And Thank you.
Linking to Finish it up Friday at Crazy Mom Quilts.