I'm hardly the first person to think of
sewing scraps of fabrics onto paper to make cards or crafts, but an idea doesn't need to be original to be good ;)
 |
| Side A |
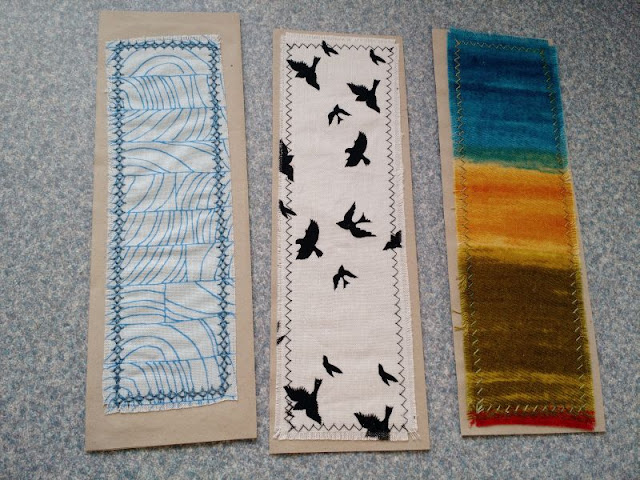
I read, a lot. It's one of my favorite hobbies right after quilting. So making scrap bookmarks was a natural choice. To make these I cut paper to 5"x7.5" and marked a crease line long-ways in the middle (2.5"). Then I sew fabric to both sides (raw-edge applique). You can use any stitch as long as it isn't too short as that would perforate the paper too much and make it tear.
 |
| Side B |
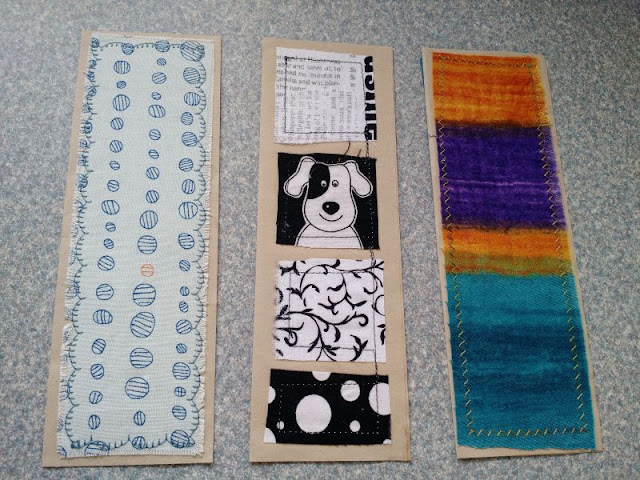
After sewing I coat the back sides of the stitching with Elmers glue, fold the bookmark in half (glued sides together), and put it under a heavy book for a day to dry. With time the fabric's raw edges will ravel and become fluffy :)
And now for your Sunday Smile, here's a photo for the girls enjoying some fresh air, safe from dogs, cars, and other cats.
Linking to
Oh Scrap!


You have inspired me to make some of these! thanks.
ReplyDeleteWhat a great idea, these are way nicer than those pesky magazine inserts that I use for book markers. Thanks for sharing.
ReplyDeleteThese bookmarks are awesome! I will have to make me some. I don't get to read often but I still love to hold an actual book. Thanks for sharing these with Oh Scrap!
ReplyDeleteThanks for a fun idea, Kat! They would make sweet little gifts, too. I may need to make some for my book club friends!
ReplyDeleteOh you are so full of great ideas! I'll have to try to make some too. Good way for the kitties to get outside.
ReplyDeleteI great idea for a quick present.
ReplyDeleteThose bookmarks are so cute, sooo much better than my paper scraps. Thanks for the instructions.
ReplyDeleteWhat FUN bookmarks you have created... enjoy!!
ReplyDeleteWhat a pretty and practical gift idea.
ReplyDeleteI love your bookmarks, and your cats have the perfect window!
ReplyDeleteGreat idea!
ReplyDeleteI made a bookmark! I linked up with Angela at Soscrappy and Elm Street Quilts. I didn't see a link to link up with you on this. Mine are a little crude looking but I am happy to use it in my planner. I actually one! Thanks for the tutorial.
ReplyDelete