Sunday, January 15, 2012

(Another) Late Christmas present, an art quilt, and a new project


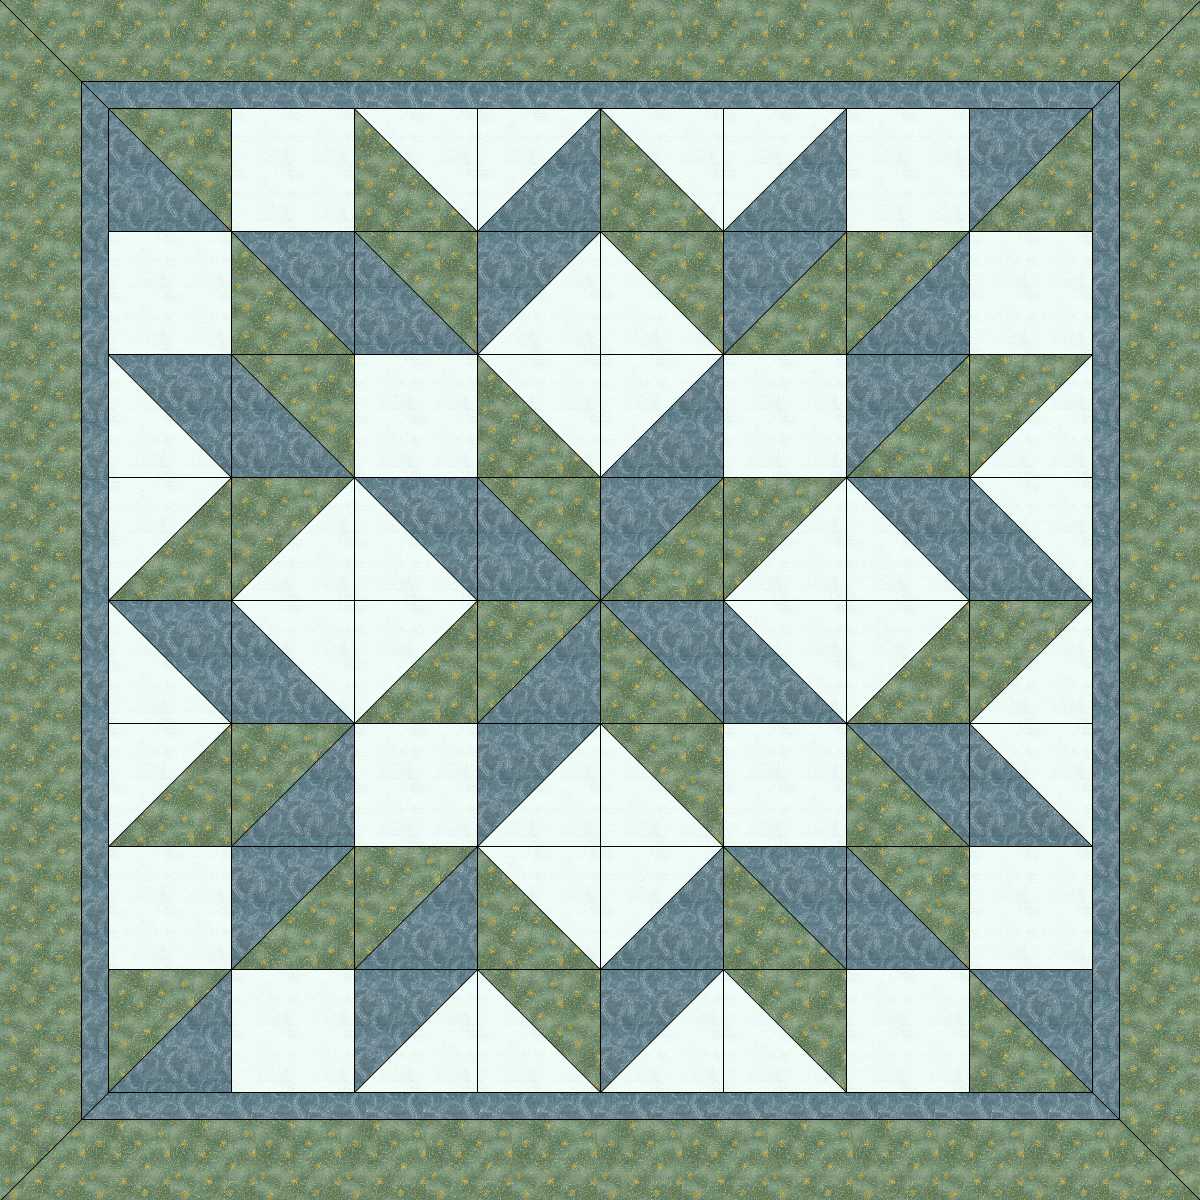
Thank goodness someone had a camera on Friday when I gifted these. This one was for the guy on the left there. I'm not sure what to call it. Nested boxes? Some kind of modified star? Anyway, I chose all flannel and homespun fabrics and did the design with big half-square triangles, so it came together quickly. It is really, really cuddly and soft. This one finished out at about 64"x74", a nice size for a guy on the short side.

Here is a picture I should have posted yesterday, but I didn't have it yet, of my tall friend with his. I like how you can tell he's smiling just by his eyes. The backing for both my Christmas quilts came from the same flannel sheet set, so it tied them together and made them extra soft.

In the wake of the two big quilting projects I'd been working on for so long I decided to do something quick! This was a great way to use some scraps (although it hardly made a dent). I quilted it densely with a variegated blue thread and then washed it on a gentle cycle to fray the "rain" just a bit. It required a major hair cut after the wash, but the finished project definitely came out like I was hoping. I gave it to one of the cat ladies in my life and she already had it hung on the wall!

This box of clothes my cousin sent me is my next project. They are some of my late uncle's clothes and a lot of Harley stuff to make into a memory quilt. I am still mulling over exactly how I want to arrange it all. It's going to be hard to cut these up, even if I know it is to make them into something better.

Saturday, January 14, 2012

Christmas Quilts finally delivered!


Today (yes, several weeks late) I finally delivered this year's "Christmas Quilts" to their recipients. I made two quilts for a couple of men I work with a lot in the community theater. The one I am showing first is a Carpenter's Star pattern made with Kona solids for the stars and some lightly patterned browns for the background.

I make my carpenter's stars with Y seams rather then "cheating" with a slightly different pattern to get away with only squares and half-square triangles (example here, notice how every other one of the center squares are larger). As you can see I made 5 whole stars, 4 halves and 4 quarters, and oh, my! The Y seams! I'm afraid after this that I can't even look at another Y seam for at least a year.

One of the issues with this quilt was that the guy I made it for is 78" tall (that's 6'6") so a normal sized throw quilt would have been a toe warmer! I added a zigzag border on two ends to make it longer in that dimension and then put a 5" border all the way around. It ended up about 90"x73ish" (somehow one short end is 71" while the other is 75". Don't even ask me how I lost 4 inches. I have no idea.)

This is what the partially pinned quilt looked like when I quit for the night and went to bed. I had to cover the parts that were already pinned because Wilson (my cat) tries to grab the pins and run off with them. Of course, since they are attached to the quilt, that doesn't work so well and he ends up tugging on the fabric. He's a nut.

All wrapped up with a label and ready to gift!

Saturday, November 5, 2011

Finish! Dino Quilt (aka RAWR!)


The dino quilt is finally done! I love the contrast between the soft pretty color and the vicious T-Rex. I know the image is a little hard to see, it's easier in real life. This was done using a reverse applique of two individually pieced sections. It raveled and krinkled like a dream in the dryer.

If I ever do this again (which I may not, because it was a lot of work!) I will make sure that both the colored layers are more mono-tone within their layers. As it is, the seam between some of the pink pieces jump out at me more than the line between the pink and white.

(Oh, and if you're wondering why I was taking pictures on the roof: the light was good and there were no dogs to tramp all over my pretty quilt, so it met all my qualifications) :)

Friday, October 14, 2011

Finish! "Little Peeks"


This quilt is now for sale in my Etsy shop!

Isn't amazing what you can do with ONE charm pack? This is what became of the Basic Grey charm pack I got back in August; it's about 65X75 inches, I'd call that a twin quilt. I'm calling the block in this a modified cathedral window. Because of the folded edge on the white triangles, each little charm square looks as if the white background has been peeled back to reveal it underneath.

The backing is a sheet I picked up somewhere that really pulls out the yellow on the front. I wanted to make this pattern so that the triangles were denser and one corner and grew fewer toward the opposite corner, and I'm pretty happy with how it turned out. There are a few changes I would make if I did it again, though, starting with removing any charm squares that basically match my background fabric.

The quilting in this was simple straight lines, except for the outer border. As you can (hopefully) see in this picture, I used a large curvy shape the mimics the curves in the border fabric.

I'm not sure who this quilt is going to, yet. I may just hang on to it for a while.

This quilt is now for sale in my Etsy shop! 

Wednesday, October 5, 2011

Finally sewing again!

Well, it's been a while! Way back in August I started back to school full time, started 4 day a week rehearsals for a play, and started into an intense period at work, all at the same time! I've been MIA ever since, but boy am I glad to be back. The play is now in production, so no more 4 hours of rehearsal every night. I feel like I've quit a job, I have so much free time now.

So what have I been doing? Sewing like mad, naturally. I finally got to tear into the Basic Grey charm pack I got for my birthday. I've strip pieced.

Sewed curves without pinning. (Living on the edge!)

Made a mountain of trimmings.

And put together a top, minus 2 more borders.

The effect of modified cathedral windows block makes it look like the white fabric is being peeled back to give a peek of the other fabric behind it. I love the way it's turning out. I've been trying to take really good pictures and make notes all along the way so that I can make a .pdf pattern once I finish this. I'm hoping to get this done in time to put it for sale at my friend's booth during a street fair this weekend. I'd better get quilting ;)

Sunday, September 4, 2011

All Worth It


See how he's got his toy cars and trains lined up over the roads and tracks? It makes my heart happy :)

Photos courtesy of Julia.

More Baby Blankets


I am still loving this tutorial for quick and easy baby blankets. I made a new batch of 6 of them today. There are 3 each for a baby girl and boy, both due in October.

The girl team. The one on the left has purple flannel with the cutest little green turtles on the back and this teal seed-pod sort of fabric on the front. The middle one has some vintage style red fabric backed by teal monkeys. And, on the far right, more of the Pooh fabric I inherited.

The boy team. The one on the left is cartoon dinosaurs and navy blue, then more of the Pooh fabric, and finally cute, cute MODA bug fabric backed with blue flannel.

I can't tell you how addicting these little blankets are. They are just so quick and satisfying!