I finally have something on my design wall today. It seems like it's been forever since I actually sewed for a quilt. Having a real job just saps all my energy. But, this weekend I finally got motivated and inspired to put in some sewing time.
I saw the ad for the NYC Mod Guild's Double Wedding Ring Challenge and it reminded my of one of my earliest projects (the last post about it was in May 2010). This quilt became something of a personal demon for me, but I have decided to try to tackle it again for entry into the modern, free-for-all category of the DWR challenge. I have until December, so that should be plenty of time, right? (Hah!!)
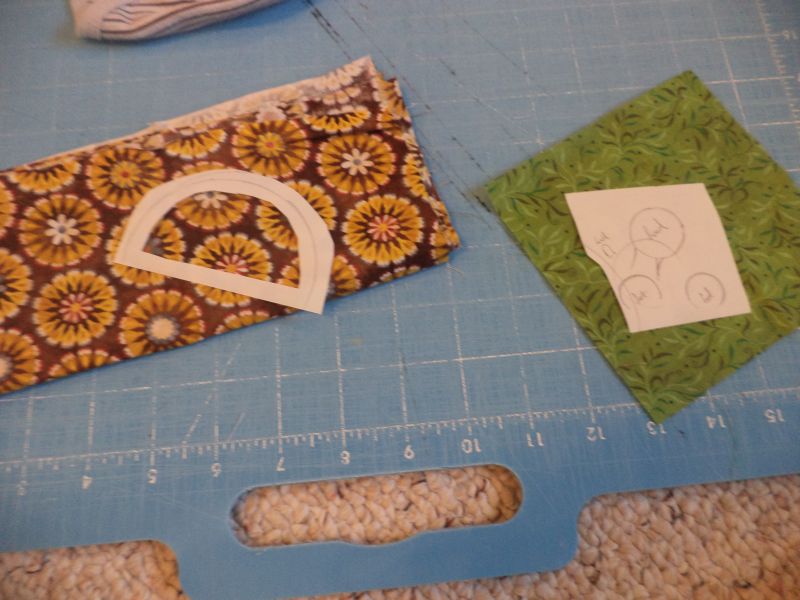
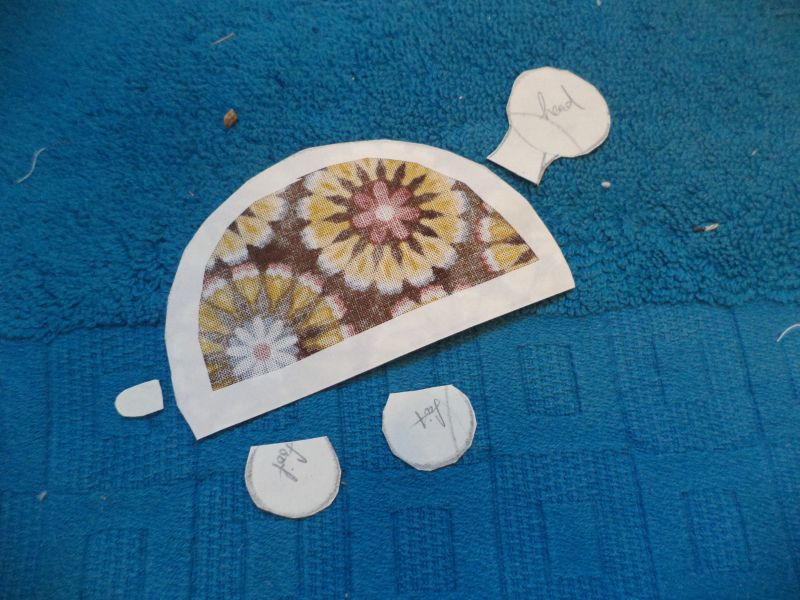
I called it "A Couple of Squares," a riff off the Double Wedding Ring, because I think the design is similar. My first attempt (on top in the pic above) was so pitiful with seams not even close to matching I decided to just start completely over. This time I am going to try for a rainbow color fade look, going from red at the upper left to purple and the lower right. I redrew the template larger and started to try again yesterday.
Let's just say I quickly remember why I abandoned that particular project in the first place.
I haven't given up or changed my mind yet. One block down, 15 to go! If you haven't already checked out the DWR challenge you definitely should. There are 3 categories ranging from mini to full and traditional to modern, something for everyone!
Linking up to design wall Monday at Patchwork Times.
Sunday, July 21, 2013
Tuesday, July 16, 2013
Tie-ing and Dye-ing
![]() |
| The t-shirt I did for myself. An off center spiral dyed in pie sections. |
I took closeups of a few of my favorite designs. This one is made by folding a spiral and then applying the dye in a spiral to create an effect Amanda calls "spiderweb." The tutorial for this one is here. You really have to go read the tutorials, she makes it so simple!
Of course, the great thing about tie-dying for babies is it just makes sense. Babies are messy and nothing disguises spit up quite as well and a bright, loud, busy design.
This one was done using the running stitch technique from Amanda's "Symmetry" tutorial. I wasn't sure how well it was going to work until it was done, but I couldn't be happier. After folding the starfish I folded the bottom of the onesie in pleats to get the effect on the purple stripe.
![]() |
| L to R: Multicolor spiral dyed in pie sections; Double spiral with random dye; Symmetrical starfish with bulls-eyes around it; Symmetrical V done with running stitch; Spiral dyed in pie sections. |
This one is probably too purple for a little boy, but I really like the way the double spiral came out. I also like how this one has a lot more white. Dyeing such small shirts it is hard not to add too much dye, so most of mine didn't end up with much white space left.
The one was a spiral dyed in pie sections. The lime and aqua are definitely my favorite color combo. One of the interesting things I noticed is that the thread remained white after dying, in both the onesies and the shirts. I suppose that's because it's synthetic? Still weird considering there doesn't seem to be much these dyes won't stick to. I dyed out concrete porch, the wooden porch rail, the inside of our dryer, and my hands! (Don't do what I did, protect yourself and your surfaces from dye! I'm just a slow learner.)
This shirt was dyed the same as the starfish onesie, using the running stitch symmetry technique.
I did all these with a Tulip 5-color "Luau" dye kit. The kit comes with one refill for each color, so I still have enough to do at least this many again. They also sell individual colors, so I think I may add yellow to my set. Amanda recommended to use soda ash to help the colors stay bright, but I wasn't able to find any locally. I went on without it and was completely happy with the colors I got, but I am looking forward to trying this again with soda ash to see the difference.
I know I've said it several times, but you really must click over to Amanda's blog and see all the great designs she and her family made. It will inspire you to get busy and get dying, too!
Since wrapping up her Tie-Dye extravaganza, Amanda's next project is A Week of Quilt Tutorials July 22-27th. I am thrilled to have been invited to participate in this one :) Look for a revamp of my Simple Strips and Scrappy Herringbone baby quilts on the 24th and check in all week to see all the tutorials.
Linking up to Finish it Friday at Crazy Mom Quilts :)
Wednesday, July 10, 2013
Applique Onesie Tutorial
![]() |
| Unique applique onesie! |
Step one is to get your onesies. I sometimes buy packs of plain white onesies from WalMart (prefer Carters brand) but I really like to hit up Goodwill, too. Their baby clothes are always 99 cents a piece and it's easy to find ones in good repair. I think since babies usually have sooo many clothes, and grow so fast, they end up outgrowing their clothes before they can do much damage to them, making them ideal to buy second hand!
![]() |
| Plain onesie in good repair from Goodwill |
![]() |
| Design components sketched onto iron-on |
![]() |
| Fabric selections from scraps |
![]() |
| Apply iron-on to wrong side of fabric |
![]() |
| Trim the individual components |
![]() |
| Peel the papers away and iron the components in place |
![]() |
| Blanket stitch in a coordinating color to make everything secure |
![]() |
| All done, and much improved! |
Tuesday, July 9, 2013
Pieced Badge Cover: Mid-week Project
I started my first nursing job this week. A lot of nurses decorate their badge clips and I thought, why not a quilted badge? I hope it will be a good conversation starter with some of my patients who may also be quilters or live with a quilter :)
I decided on a Dutchman's puzzle block and used paper and foundation piecing both to make it. Obviously there are some wonkiness issues, but as the entire design measures just 1.5" I'm okay with that. After piecing together the top I cut the piece to a circle and added elastic to make it wrap around the badge base.
Here's what my badge clip looks like from the back. The fabric comes around the edges of the base and the elastic pulls it in close behind it. I can't wait to wear it to work :)
Linking up to WIP Wednesday.
Saturday, July 6, 2013
"It's a Girl!" baby gifts
My friends are having a girl! I've been making embellished onesies, baby pants, and receiving blankets
for expectant moms for a while now, but it seems like almost everyone
is having boys. That works well for me since I generally like boy stuff
better, and my stash is full of boy fabrics, but it was fun to finally get to make some little girl things.
I made my usual set of 3 onesies. I buy plain white onesies and applique on them. I like the Carters brand because they feel softer, thicker and generally better made than Gerbers.
I usually get at least size 3-6 month because some babies and born already too large for newborn clothes, and this way they can wear them longer.
These are so easy to make, and turn out so cute! [Edited to add, I decided to write a full tutorial for these. You can find it here.] I start by sketching my design onto the paper side of Lite Iron-on adhesive. I cut out the pieces about a quarter inch to either side of my lines, leaving the middle empty. This way there is only a strip of the iron-on along the edges of the design, making it lighter and more flexible.
I iron the adhesive onto fabric scraps, trim along the line to make it the right shape, then peel off the paper and iron it down to the onesie. I use a machine blanket-stitch to secure everything so it will last through many washes.
I also made some more Big Butt Baby Pants. My first girly pair :) I used a natural colored linen for the main piece of the pants and a cute, pink print with animals for the rear panel and ruffles. The ruffles around the ankles give just the right girly touch and pink top-stitching finishes everything off perfectly.
I also made two quick receiving blankets from some white thermal knit and pink jersey sheet set. I make these pillowcase-style and just top-stitch around the edge once they are flipped and closed. A few stars or circles in the middle to hold the layers together and these generously sized blankets are all ready for baby.
Of course, every baby needs a quilt. So, the Pink Lemonade scrap will also be going with this set to its new home. Sewing for babies is SO much fun, and so are the babies themselves, except possibly for the cat of the house. My friends' kitty is about to get a rude awakening, so I made up a quick-and-dirty cat toy to send along, too. New babies are hard on kitties :/
The sewing is all done, not we're ready to meet the sweet new little person!
You can find the full tutorial for the onesies here.
Linking up to Finish it Friday @ Crazy Mom Quilts.
I made my usual set of 3 onesies. I buy plain white onesies and applique on them. I like the Carters brand because they feel softer, thicker and generally better made than Gerbers.
I usually get at least size 3-6 month because some babies and born already too large for newborn clothes, and this way they can wear them longer.
These are so easy to make, and turn out so cute! [Edited to add, I decided to write a full tutorial for these. You can find it here.] I start by sketching my design onto the paper side of Lite Iron-on adhesive. I cut out the pieces about a quarter inch to either side of my lines, leaving the middle empty. This way there is only a strip of the iron-on along the edges of the design, making it lighter and more flexible.
I iron the adhesive onto fabric scraps, trim along the line to make it the right shape, then peel off the paper and iron it down to the onesie. I use a machine blanket-stitch to secure everything so it will last through many washes.
I also made some more Big Butt Baby Pants. My first girly pair :) I used a natural colored linen for the main piece of the pants and a cute, pink print with animals for the rear panel and ruffles. The ruffles around the ankles give just the right girly touch and pink top-stitching finishes everything off perfectly.
I also made two quick receiving blankets from some white thermal knit and pink jersey sheet set. I make these pillowcase-style and just top-stitch around the edge once they are flipped and closed. A few stars or circles in the middle to hold the layers together and these generously sized blankets are all ready for baby.
![]() |
| Baby set: quilt, 2 receiving blankets, pants, 3 onesies |
Of course, every baby needs a quilt. So, the Pink Lemonade scrap will also be going with this set to its new home. Sewing for babies is SO much fun, and so are the babies themselves, except possibly for the cat of the house. My friends' kitty is about to get a rude awakening, so I made up a quick-and-dirty cat toy to send along, too. New babies are hard on kitties :/
![]() |
| This is a kitty who doesn't know a thing about babies and NOT being the center of mommy's attention |
You can find the full tutorial for the onesies here.
Linking up to Finish it Friday @ Crazy Mom Quilts.
Thursday, July 4, 2013
Fusible-Foundation Postage Stamp Block {July do. Good Stitches}
The technique selected for this month's do. Good Stitches block is one I've been wanting to try for a while. Using lightweight fusible interfacing to make piecing fussy seams a breeze. (You can see the tutorial here).
This technique starts with laying out all your patches on a piece of fusible and ironing them down in place. Then, you fold the rows/columns of patches and sew the seam lines. I bought the lightest weight fusible interfacing I could find, but I wish I'd had something lighter as I still felt it was too stiff.
I'm glad Louise chose it for our block this month, because I probably never would have gotten the gumption up to try it on my own. And I was right! This method certainly makes the postage stamp process easier, but it is still tedious in its own ways. Suffice it to say, one block was enough for me.
After sewing all the seams in one direction you have to split the interfacing along the ridge so the seams can be ironed open. The first set of seams I split using an old seam ripper, the second set using tiny scissors. Neither method was easy or super effective. I think Louise's technique of slicing off a tiny bit of the seam allowance with your rotary cutter is probably best, but it's easier said than done in reality, with these bulky seams and the bulk of the rest of the block trying to get away from you.
After sewing and pressing one set of seams you repeat the process, sewing the horizontal seams. This block, which only finishes at 15" sq, contains 100 tiny squares.
I was able to get all of my squares from my scraps, and over half of them came from my crumb jar. That makes me happy :) My finished block makes me happy too! And although I'm not sure I'd ever do this again, I'm glad I got to try it out. I'm especially excited to see everyone's blocks together; I think they'll make a really fun quilt!
I hope you had a happy 4th. We had beef ribs and potato salad for dinner and set off bottle rockets and blackcats in the driveway. I think the dogs had the best 4th of July of all, as they got rib bones to chew on and then lost their minds barking and running after fire works :)
Linking up to Can I Get a Whoop Whoop Friday. Check out the other posts and share some love!
![]() |
| My fused block with one seam sewn |
![]() |
| All the vertical seams sewn, not yet ironed |
I'm glad Louise chose it for our block this month, because I probably never would have gotten the gumption up to try it on my own. And I was right! This method certainly makes the postage stamp process easier, but it is still tedious in its own ways. Suffice it to say, one block was enough for me.
![]() |
| Vertical seams done and pressed |
After sewing all the seams in one direction you have to split the interfacing along the ridge so the seams can be ironed open. The first set of seams I split using an old seam ripper, the second set using tiny scissors. Neither method was easy or super effective. I think Louise's technique of slicing off a tiny bit of the seam allowance with your rotary cutter is probably best, but it's easier said than done in reality, with these bulky seams and the bulk of the rest of the block trying to get away from you.
![]() |
| The finished block, from the back. By this point Wilson had woken from his nap and was getting restless. |
After sewing and pressing one set of seams you repeat the process, sewing the horizontal seams. This block, which only finishes at 15" sq, contains 100 tiny squares.
![]() |
| Finished postage stamp block |
I hope you had a happy 4th. We had beef ribs and potato salad for dinner and set off bottle rockets and blackcats in the driveway. I think the dogs had the best 4th of July of all, as they got rib bones to chew on and then lost their minds barking and running after fire works :)
Linking up to Can I Get a Whoop Whoop Friday. Check out the other posts and share some love!
Wednesday, July 3, 2013
Hi, My name is Kat...
...and I'm a quilter. (All reply: "Hi, Kat.")
I feel like I've admitted to a new level of quilting addiction. I finally ordered a whole bolt of quilt batting. 90"x30yds of fluffy white goodness. I mean, as long as I was only buying enough batting for a few quilts at a time I wasn't really in over my head; I could stop at any time. (Really, I could have stopped...) But buying 30yds of batting at once, well, I'm admitting (to myself and everyone else) that I'm in for a long haul :)
I decided to go with Hobbs Heirloom Natural with Scrim. I like Hobbs for its lighter weight (as compared to my other standard, Warm and Natural) and with the scrim it can be quilted 8" or 10" apart. I like not having to worry about density when I'm quilting. I ordered from Kingsmen Quilting Supply and they were wonderful to work with!
Since I wrapped up the do. Good Stitches quilt I was kind of at a loss for what to work on next for a few days. I decided to try to get back to quilting my Stash Bee quilt (not least of all because I needed to reclaim the pins its basted with). I had planned to honeycomb quilt it (seen below). I love how this quilting looks when it's finished and I think it would have been great on this quilt, but... it just wasn't going to happen.
I hated the long stitch length that I got no matter how I tweaked the settings, and I was having huge problems with the quilt top shifting and getting folds in the back. I never have those sort of problems anymore! Finally I decided to rip out the quilting that I'd done so far (thankfully, barely any) and straight line quilt horizontally and vertically instead.
I got 1/4 of the way done yesterday, so just maybe this quilt will be done sometime in the near future.
Linking up to WIP Wednesday.
I feel like I've admitted to a new level of quilting addiction. I finally ordered a whole bolt of quilt batting. 90"x30yds of fluffy white goodness. I mean, as long as I was only buying enough batting for a few quilts at a time I wasn't really in over my head; I could stop at any time. (Really, I could have stopped...) But buying 30yds of batting at once, well, I'm admitting (to myself and everyone else) that I'm in for a long haul :)
![]() |
| A new bolt of batting. Now, to find a place to put it... |
Since I wrapped up the do. Good Stitches quilt I was kind of at a loss for what to work on next for a few days. I decided to try to get back to quilting my Stash Bee quilt (not least of all because I needed to reclaim the pins its basted with). I had planned to honeycomb quilt it (seen below). I love how this quilting looks when it's finished and I think it would have been great on this quilt, but... it just wasn't going to happen.
I hated the long stitch length that I got no matter how I tweaked the settings, and I was having huge problems with the quilt top shifting and getting folds in the back. I never have those sort of problems anymore! Finally I decided to rip out the quilting that I'd done so far (thankfully, barely any) and straight line quilt horizontally and vertically instead.
I got 1/4 of the way done yesterday, so just maybe this quilt will be done sometime in the near future.
Linking up to WIP Wednesday.
Subscribe to:
Posts (Atom)